Crumb Coat 101: The Step Every Smooth Cake Depends On
Every flawless cake you've ever admired was built on a thin, unglamorous first layer of frosting. Here's what a crumb coat actually does, how to get it right, and how to fix it when it goes wrong.
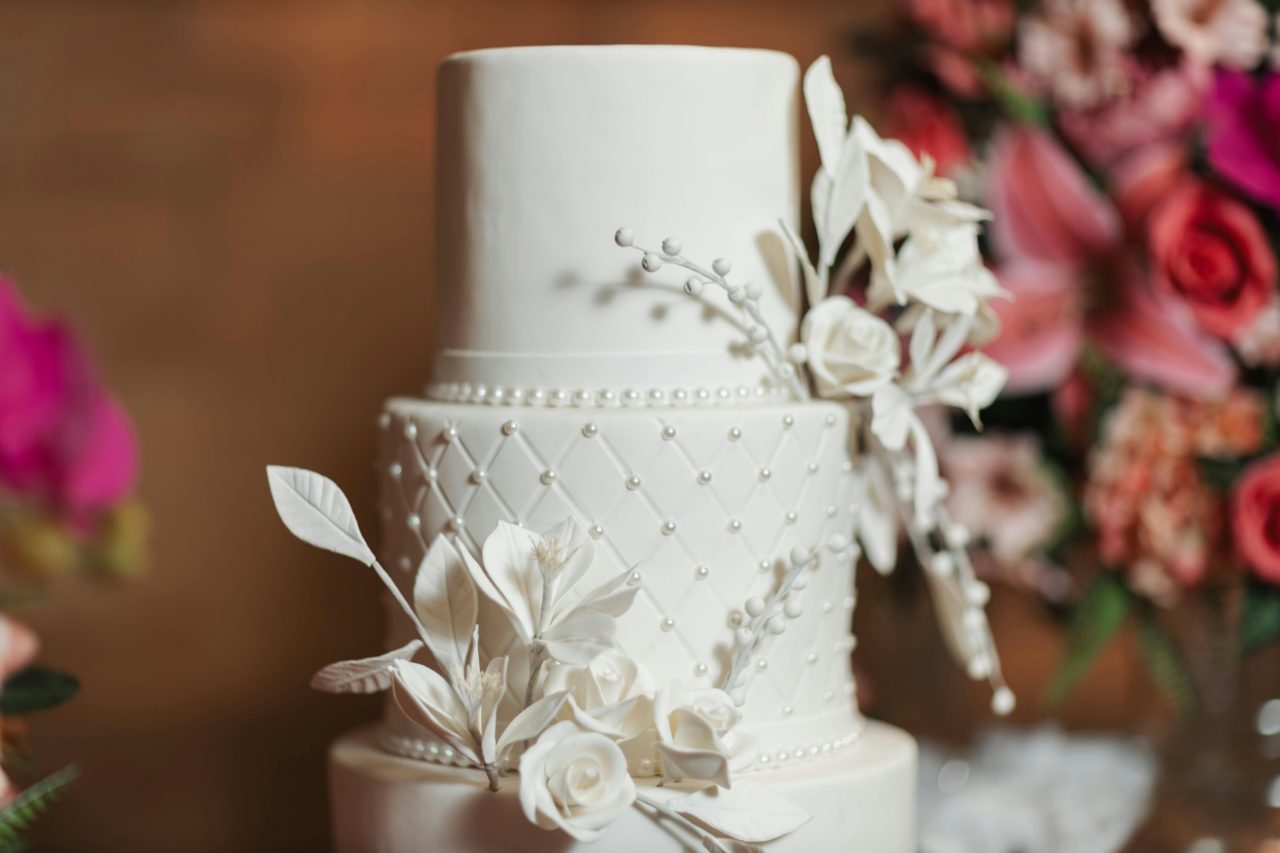
There's a reason this blog is named after it. The crumb coat is the least photogenic step in cake decorating — and the one that decides whether your finish looks homemade or professional. It's a thin first layer of frosting whose only job is to trap loose crumbs against the cake, so your final coat glides on clean. Skip it, and every swipe of the spatula drags specks of cake through your beautiful buttercream.
What a crumb coat actually is
A crumb coat is a deliberately thin, rough layer of frosting applied over the whole cake and then chilled until firm. Think of it as a primer coat on a wall: it seals the surface, locks the crumbs in place, fills small gaps between layers, and gives your final frosting something even to grip. It doesn't need to be pretty — it needs to be thin, complete, and firm before you go any further.
You should be able to see the cake through it. If your crumb coat looks thick enough to be the final coat, it's too thick. A see-through veil of frosting that covers every bit of exposed cake is exactly right.
What you'll need
- An offset spatula — the bent neck keeps your knuckles out of the frosting
- A bench scraper — for pulling the sides flat in one clean pass
- A turntable — not strictly required, but it's the cheapest upgrade to your finish quality
- Slightly loosened frosting — a spoonful of milk makes buttercream spread thin without tearing the cake
- Fridge space — the chill is half the technique
The method, step by step
Level, fill, and stack
Trim the domes off your layers so they sit flat, fill between them, and stack. A straight, level cake is the real foundation — no amount of frosting fixes a leaning stack.
Apply a thin, rough coat
Pile frosting on top, spread it over the edge and down the sides with the offset spatula. Work quickly and don't fuss — you're covering the cake, not finishing it. Never let a spatula that has touched the cake go back in your frosting bowl; crumbs in the bowl haunt every later coat.
Scrape it back
Hold the bench scraper vertical against the side, brace your arm, and spin the turntable. You're removing frosting, not adding it — what's left should be a thin, even veil with the cake faintly visible underneath.
Chill until firm
Refrigerate 20–30 minutes, until the surface is firm to a light touch and nothing comes off on your finger. This sets the crumbs in place permanently — rushing this step undoes everything before it.
Apply the final coat
Now frost over the chilled shell. The spatula glides instead of drags, no crumbs lift, and you can chase a perfectly smooth finish — or pipe straight onto the clean base.
Troubleshooting the usual disasters
The frosting tears chunks off the cake
Your frosting is too stiff or your cake is too fresh. Loosen the buttercream with a teaspoon of milk at a time, and chill the assembled cake for 15 minutes before coating — a cool cake holds together under the spatula.
Crumbs keep ending up in the bowl
One-way traffic: frosting moves from bowl to cake, never back. Keep a second "dirty" bowl to scrape used frosting into, and wipe the spatula on the rim between passes.
The chilled coat cracked or slid
Cracks usually mean the coat was too thick; sliding means the filling was too soft or overfilled. Thin coat, modest filling, and a level stack solve both.
The final coat still shows lumps
The crumb coat wasn't scraped flat — the final coat faithfully copies every bump beneath it. Scrape the crumb coat as flat as you can; smoothness is built in the base layer, not the top one.
When you can skip it
Honestly? Almost never — but there are exceptions. Rustic, "naked," and semi-naked cakes use the crumb coat as the finish, so the crumb coat is the whole job. And a sturdy, well-chilled cake with very few loose crumbs can sometimes take a single careful coat. But if you're chasing clean color, sharp edges, or fondant, the crumb coat is non-negotiable — fondant in particular shows every flaw in the surface below it.
Tonight's homework: one thin, ugly coat.
Bake one of our tested recipes, level it, and practice nothing but the crumb coat. Two weeks of this and your finishes will look professional.
Browse our tested recipes →Chilling times vary with your fridge, frosting recipe, and kitchen temperature — firm to the touch is the real test, not the clock.